Wednesday, December 31, 2014

Happy 2015!

May you have a new year filled with peace, love, heath, friendship, and happiness!


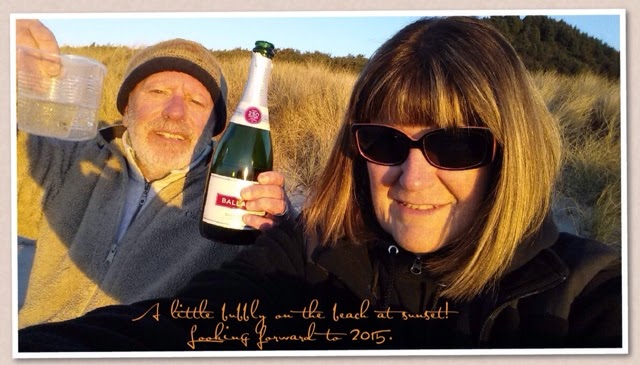
We spent a chilly sunset on the beach toasting the new year before heading home to warm up by the wood stove.


Sunday, December 28, 2014

Bargain Purchase Becomes Treasure

Sometimes an item is on sale at a ridiculously low price, and you just can't help buying it, even though the quantity offered is far greater that you will ever use. Such is the case with these four-holed brass hoops; I have hundreds of these things.
For years I have been searching for innovative ways to utilize them. Texturizing. Doming. When I saw my new BIGkick machine sitting on my work table and realized that these hoops could be embossed and patinated, they suddenly became interesting and useful. I had LOTS of them to experiment with. I tried a variety of embossing folders and played with layering patina. You'll likely be seeing a lot more of these in future posts.

These cobalt brios were one of those no-hesitation purchases. I love these colors!


Designing with these hoops was interesting. I found myself struggling to find a variety of ways to utilize those bottom three holes - jump rings, chain, paddles, wrapped brios. I needs to figure out more options. 


I have been hoarding this expensive larimar forever. Finally, there was a perfect project to utilize it. 


I bought these spiny oyster beads on-line and envisioned them much larger than they turned out to be. I haven't used them very often. 


I think I will move on from hoops to another type of component. I wonder which one?

Charmed by the Sea Jewelry

Lately, I have been absolutely obsessed with embossing and patinating components. When I was cleaning up my studio space, I uncovered the basket in which I have been storing a rapidly growing mound of components and decided that it was time to actually create some jewelry with them. I don't know which I enjoyed better - making the components or making the jewelry. 


Monday, December 22, 2014

Charmed by the Sea

My first finished piece of jewelry using my new handmade embossed and patinated charms.


Sunday, December 21, 2014

Love New Tools!

I had drooled long enough. After entering a contest for a $700 rolling mill and a giveaway that included a complete embossing set, oceans of embossed metal pieces began to flood into my Pinterest boards, jewelry blogs, and most convincingly, my dreams. I HAD to include embossing in my jewelry tool belt, and I HAD to have it now. I mean, being one in thousand of contestants didn't fare well for actually winning one. Then there is the waiting for the announcement. No, this was going to be my Christmas present to myself, and I wanted it NOW. Introducing my new. . . L-O -V -E!


After gathering every sort of metal in my stash, the experiments began. Brass, copper, and aluminum blanks and sheet metal. Brass and copper gears and cogs. Almost every single tool in my arsenal: BIGkick, embossing folders, disc cutter, dapping set, metal sheers, hole punch (not pictured).  


Next step: patinating the newly embossed blanks. Vintaj, I think I love you. 


As I was making embossed charm components, the ocean was roaring. I could hear it even with my windows closed. As a result, the first embossing folder I experimented with was an ocean-themed one. I love the starfish and sand dollar charms with their beachy colors. Usually I agonize over naming things, but the name for these charms popped into my head immediately . . . Charmed by the Sea.


I wondered how the patinas would look on other metal pieces like coins and keys.


I absolutely adore this process and see many hours of entertainment and experimentations ahead with my versatile new tools. In my next post, I'll share the jewelry I make using these embossed metal components. Stay tuned.

Friday, December 19, 2014

We're All Ears :: December Challenge Reveal

We're All Ears :: December Challenge Reveal

This month's inspiration is an anamorphic art installation, an art form that uses a "distorted projection or perspective requiring the viewer to use special devices or occupy a specific vantage point to reconstitute the image." (source:Wikipedia). 

The following information is from Erin's original post on Earrings Everyday.
Breaking Wave is an anamorphic kinetic sculpture created for Biogen-Idec's new headquarters in Cambridge, MA. The sculpture was created by Plebian Design and Hypersonic
 
Breaking Wave tells the story of the search for patterns, and the surprising results that come by changing our point of view. 804 suspended spheres move in a wave-like formation. When the wave crests and breaks, the balls hover momentarily in a cloud. From almost anywhere in the room, this cloud is purely chaotic, but step into one of two hidden spots, and this apparent chaos shows a hidden pattern. 

From the first, a labyrinth hints at the search for knowledge, and from the second, a Fibonacci spiral inspired flower reminds us of the natural order and patterns found in nature.

Breaking Wave from PLEBIAN DESIGN on Vimeo.

For my earrings I knew that I wanted to create motion. In my mind's eye, I envisioned spherical shapes dangling from wire, cord, or chain.  I happened to have some copper washers hanging around in my studio leftover from recent experiments with Vintaj patina. After adding some chain and bead dangles, they seemed complete. I had hoped to antique the earwires in LOS, but days of driving rain made that impractical (since I like to do that stinky chore outside on my deck).

On this project, I also ran into technical glitches. I was determined to embed the video this time, and in order to do so, I had to use the browser version of blogger rather than the app version. Both versions did not play very well with each other or with my ipad.  I couldn't caption the third photo (old padre trade beads, Czech glass) or add more text below it.

Thanks, Erin, for another clever inspiration. I am looking forward to viewing everyone's interpretations!

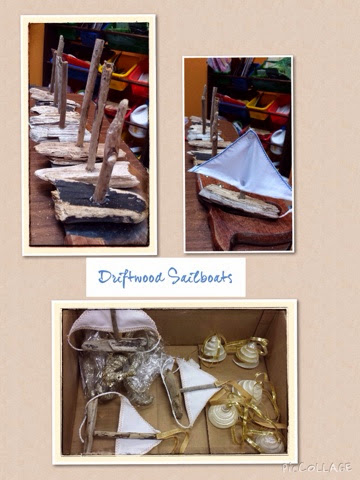
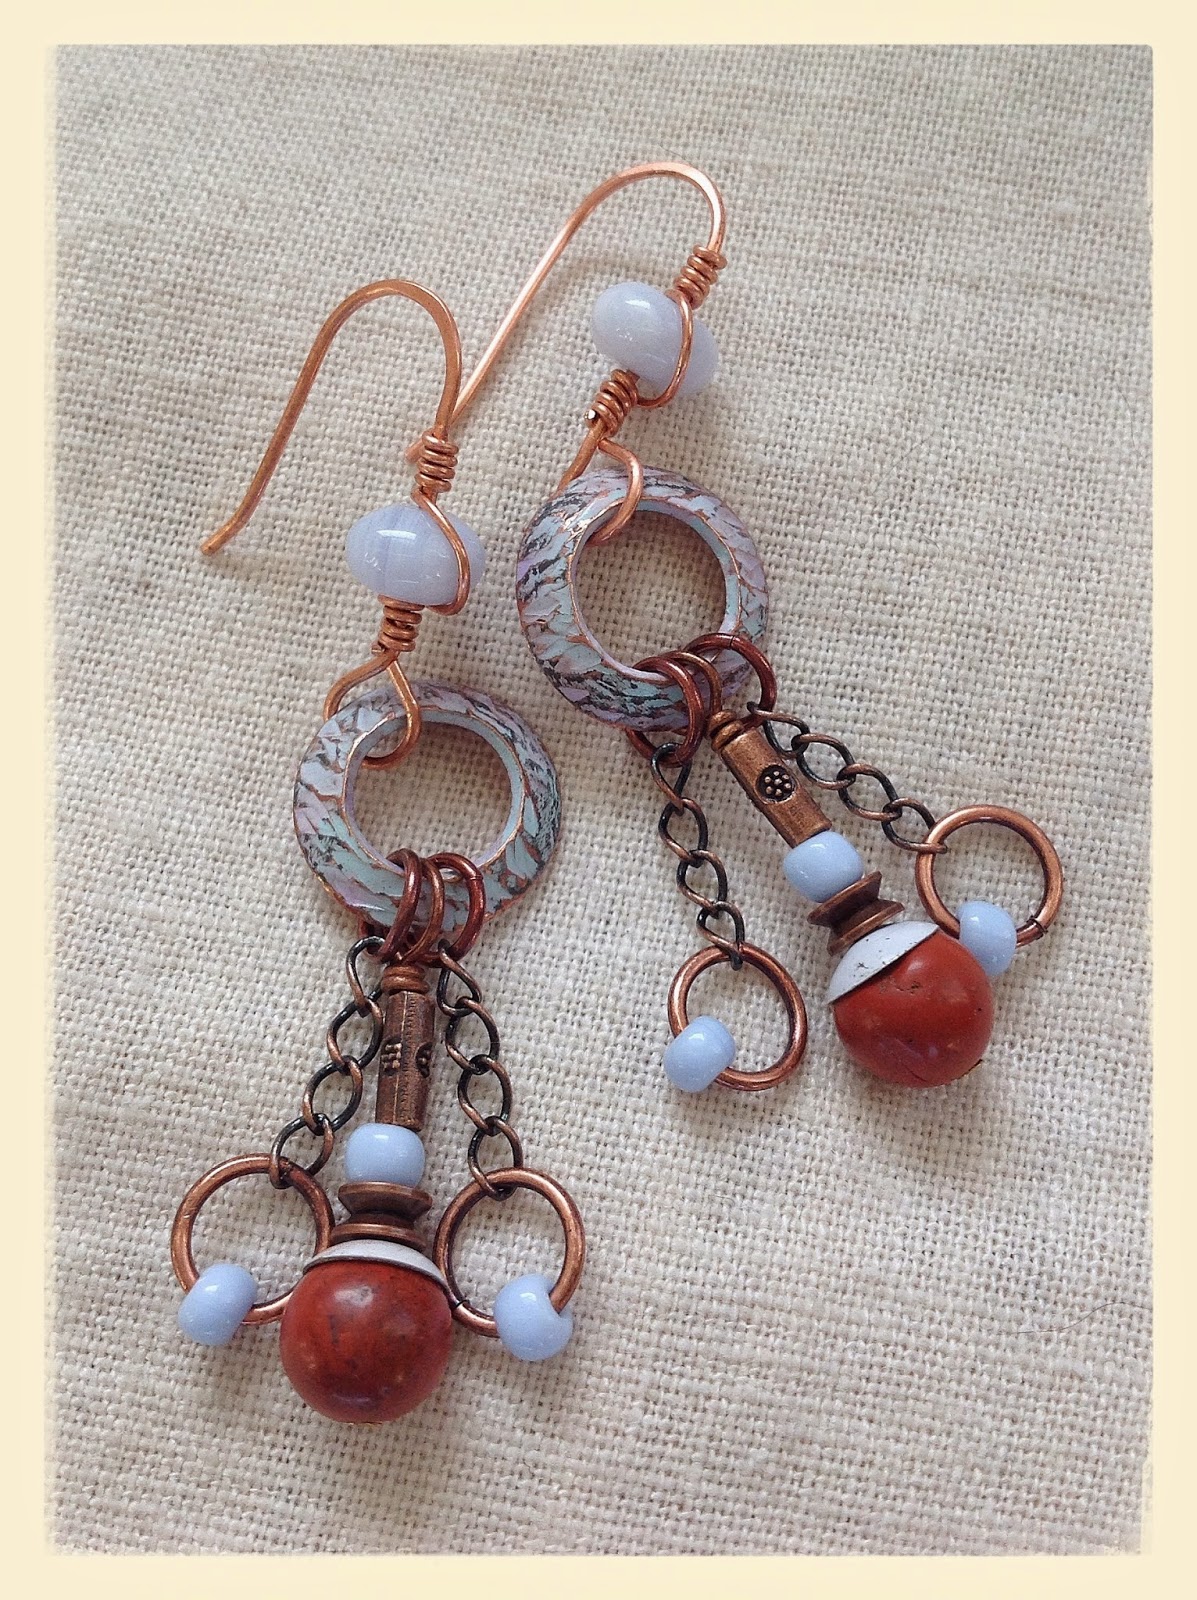
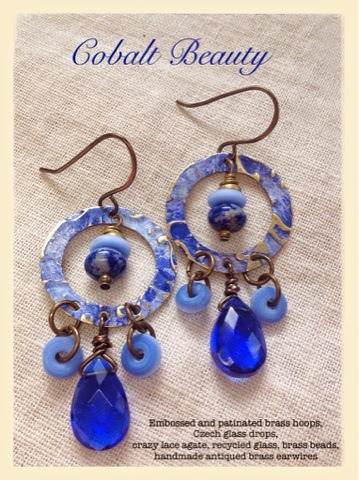
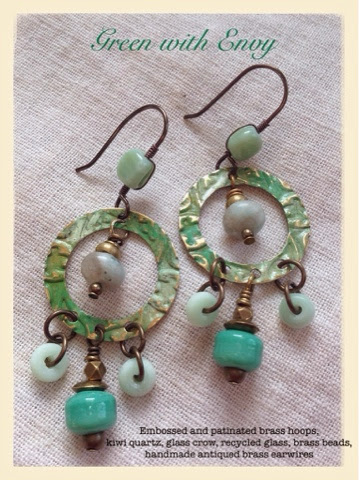
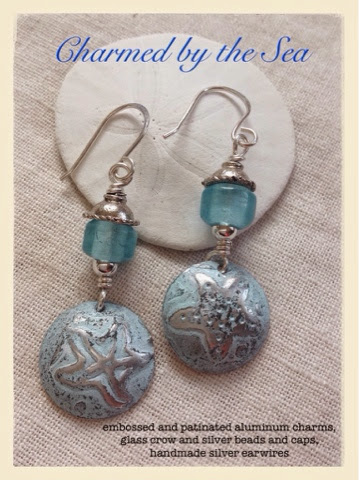
Coral, blue lace agate, glass
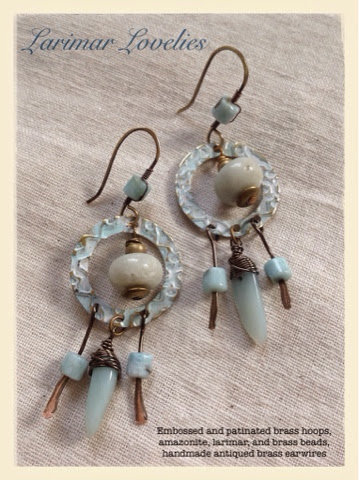
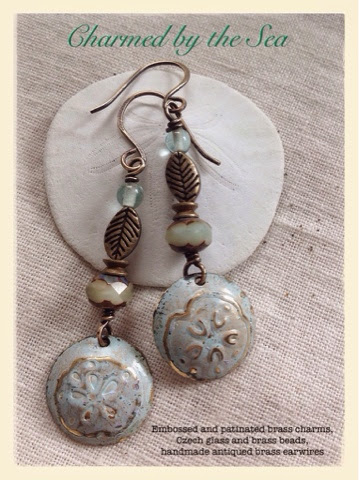
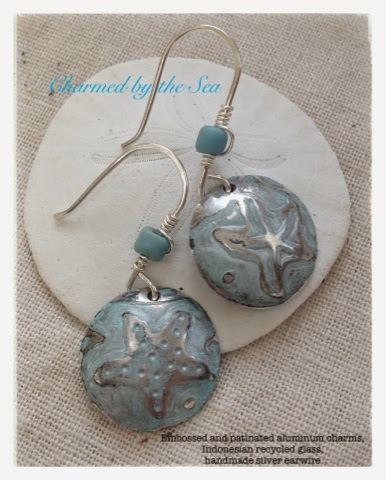
Chalcedony, blue lace agate, glass


Thursday, December 11, 2014

Coastal Christmas

Festival of Trees

Peak experiences. Being in the zone. These are moments many of us savor. As an artist, these are experiences I live for. To be able to step back from a project and feel that sense of pride and accomplishment is indescribable. The most curious thing for me is how attached I become to a project that goes well. This one, in particular, was hard to walk away from. 

The Festival of Trees is an annual fundraiser for The Pioneer Museum in Tillamook, Oregon. Donated trees are decorated and then bid on in a silent auction. This year, I joined my artist friends April and Kathryn in decorating a beautiful noble fir in a coastal theme. 

(I know this is a primarily a jewelry blog, and this is beginning to seem unrelated to jewelry. I promise you that it is. Hang in there with me.)

Here is the entrance to the display in the museum. Beautiful trees. Now we will walk through that doorway to the right. 


Our tree is the one in the back left corner.


Our sea-themed tree is decorated with shells, seaglass, sailboats, and ornaments. 


My most labor-intensive contribution was wire wrapping a dozen sand dollars I collected on our beach.  (See, now we are getting closer to a jewelry-related topic: wire.)
First I created a basket weave frame on the back and then spiraled "arms" to fold around to the front. With a loop for hanging, these can be tree ornaments now and necklace pendants after the tree is on the curb, naked and lonely. (See, jewelry!)


The next project was wire-wrapping shell fragments (collected on my beach) and tumbled glass as ornaments/necklace pendants. (More jewelry.) We made sure to place the glass in front of tree lights.


We glued ribbon hangers on purchased shells from a Rockaway Beach institution, Flamingo Jim's, and tied them on in sweet bows.


Probably the most challenging but also the most satisfying project was making these driftwood sailboats. How cute are they? Driftwood collected from my beach had a date with a drill and a hot glue gun. Fabric sails were hemmed and ropes added. I love these little guys!


Other beautiful trees filled the museum. 


The library tree was decorated with book page ornaments. Stunning!


The driftwood tree was stark and natural.


The perfect balance of this wreath sparkled in the spotlight.


Now here is the part that is both gratifying and bittersweet. Today I visited our tree for one last moment in the museum before it finds its home in one lucky person's living room. One final appreciative look before I walked away from it forever. I will miss seeing it but am happy that it will find a new home for the holidays. When the tree is long gone, our shell and glass pendants can be strung on cord as necklaces and worn forever. This was truly a joyful, peak experience in this most giving of holidays. 

Wednesday, November 26, 2014

Art Jewelry Elements November Component of the Month Reveal

I have long been a follower of the Art Jewelry Elements Blog and been inspired by its talented contributing artists. After all of my lurking, I have no idea what possessed me to put my name in the hat for the monthly component challenge and giveaway. I mean, sheesh, these artists are like jewelry rock stars. When it was announced that I was one of the winners of the components, I was elated;  however, when they arrived in the mail, I felt intimidated. (Did I mention the whole rock star thing?) These cute beaded Twin Rings, created by Kristen Stevens, stared at me from my studio work table . . . forever.


No ideas came to mind, and the week of the reveal had arrived. My dreams started featuring jewelry with Twin Rings. Earrings seemed too obvious a choice; I dreamed of these lovelies in a necklace or a bracelet. I pulled out supplies, and soon my studio looked like this. 


The Peruvian opal that I have been hoarding forever finally saw the light of day. After wire-wrapping a bead into the middle of each ring, I hit a wall.  Now what? 


I knew I wanted to use the copper scraps I scored from the recycling center and some leather. After a flurry of texts and photo exchanges of ideas with my cousin Kathie, a wonderful jewelry artist who lives across the country, I had a plan: cut a bracelet blank from copper, texture, bathe in LOS, punch two holes, and wire the beaded ring to the blank. Ditto for a necklace pendant.


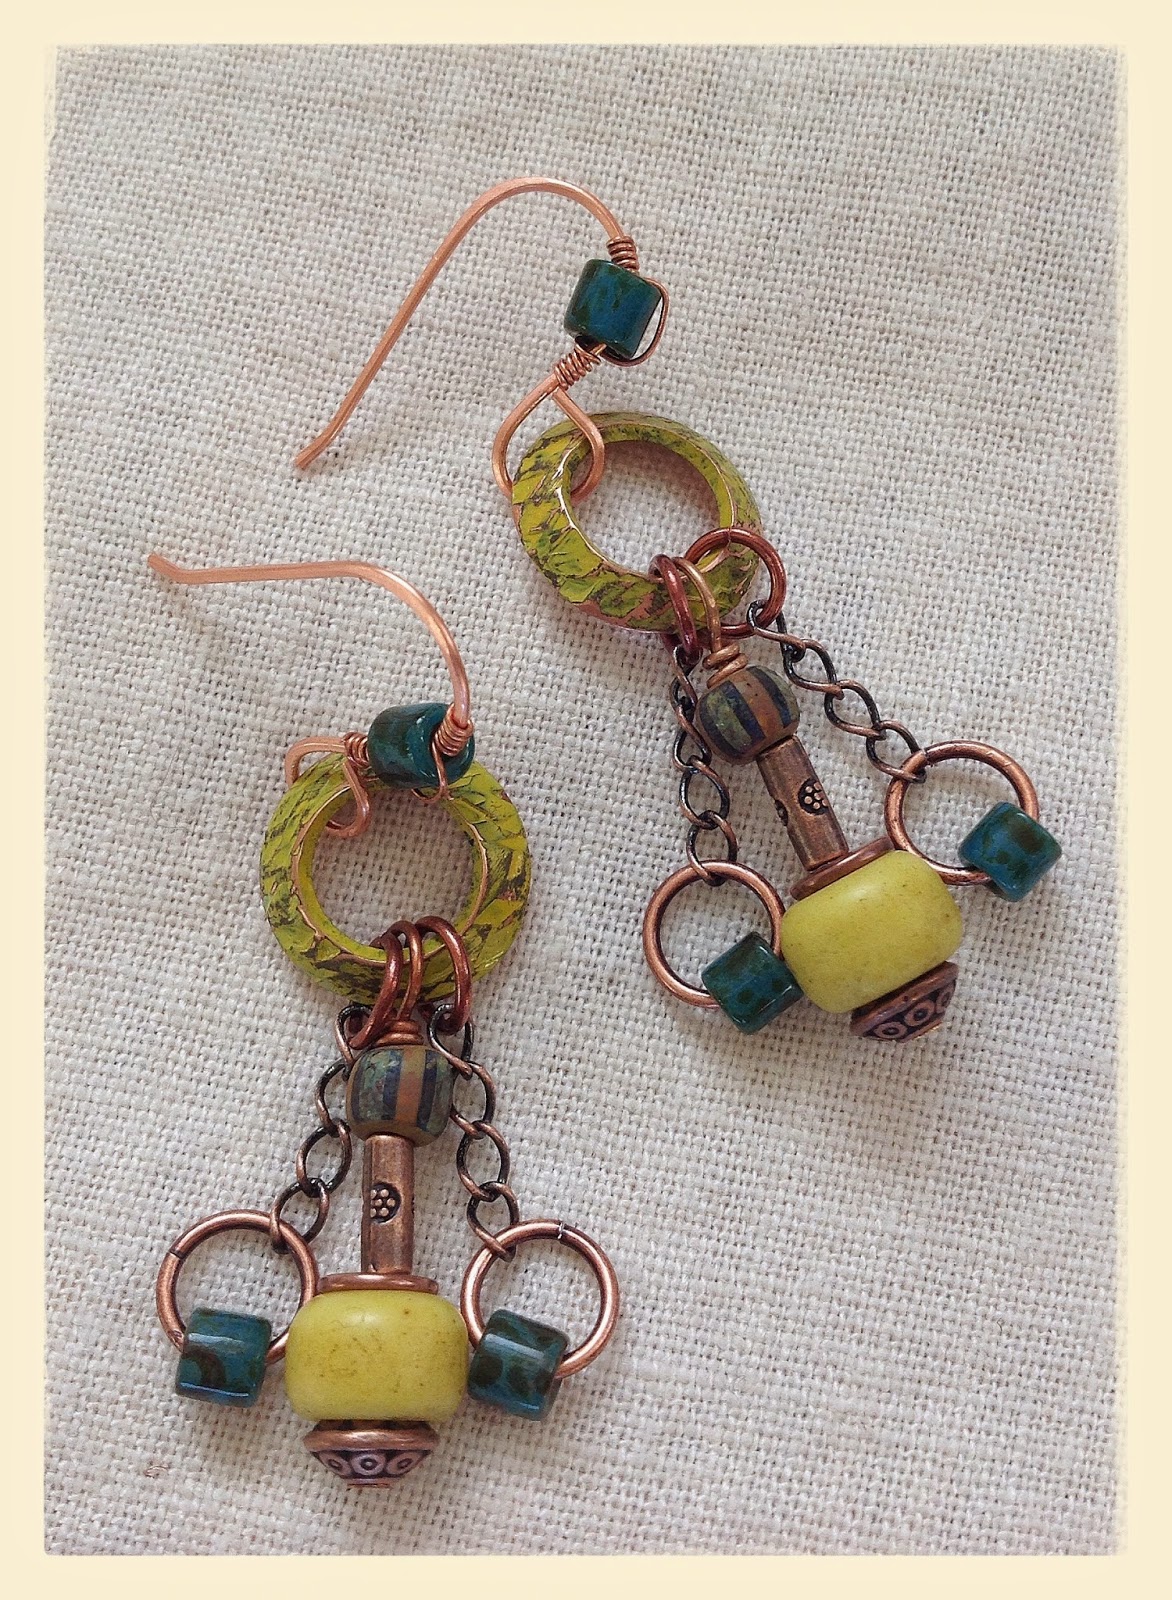
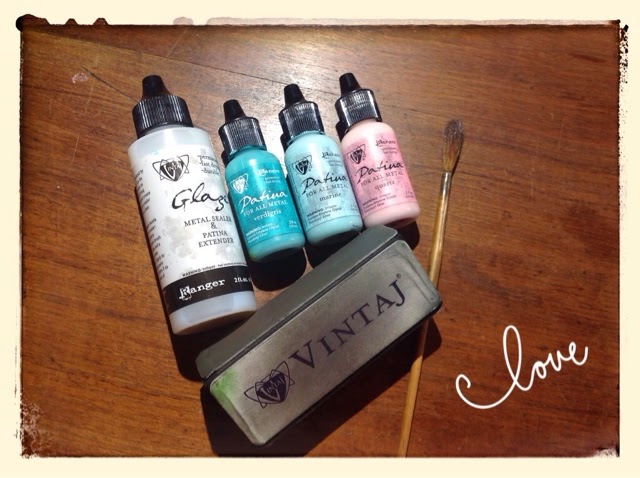
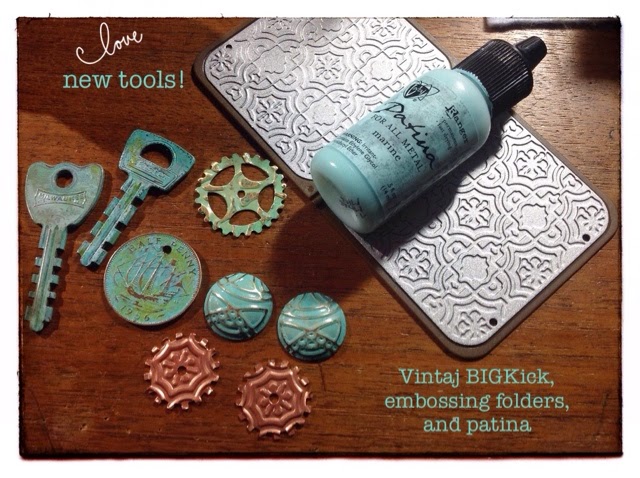
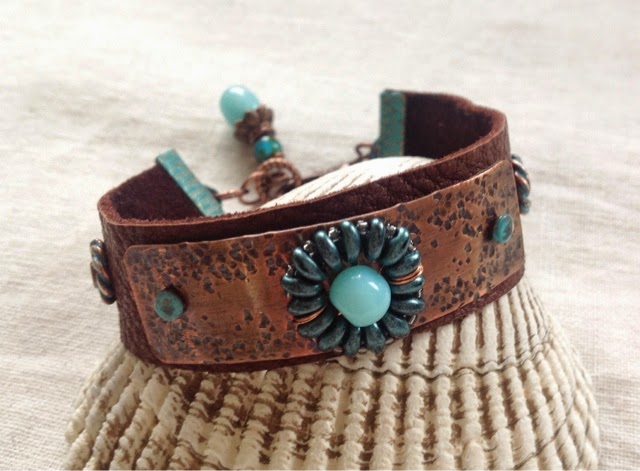
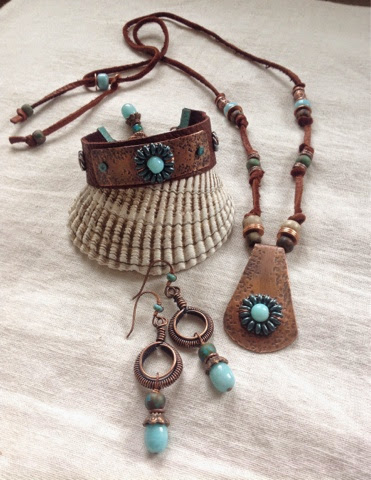
Wanting to pick up the color of the opal, I painted rivets and spacers for the bracelet with some Vintaj patina. I hit a snag when I discovered that I only had brass and silver ribbon crimps. With no time to order copper ones and no nearby store to purchase them, I had to get creative. Vintaj patina to the rescue! 


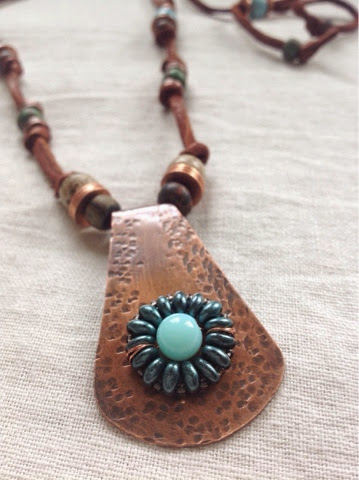
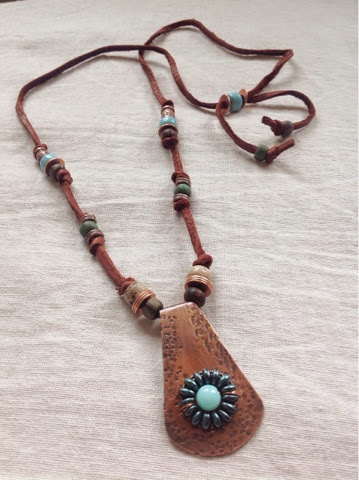
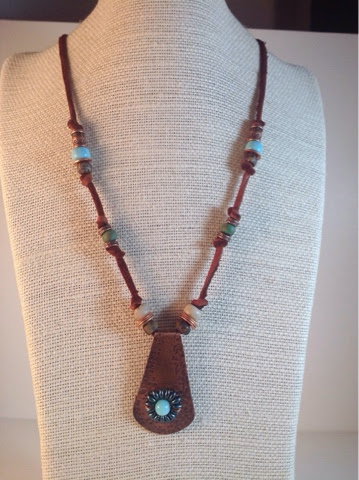
For the necklace I decided to keep it simple, allowing the pendant with the ring to be the star. I strung crow beads, old Padre trade beads, aged picasso Czech glass beads, copper washers and spacers, and the pendant on knotted deerskin leather. Loving options for necklace length, this type of adjustable clasp works best for me.


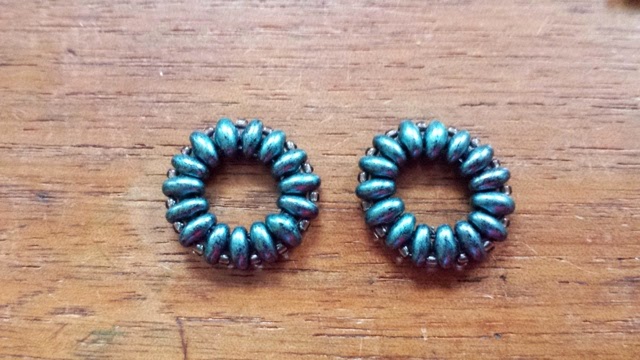
Of course, the set wouldn't be complete without a pair of earrings. I happened to have some practice links that I made from Cindy Wimmer's wonderful book The Missing Link, so I added a simple dangle of Peruvian opal, Czech glass, and copper. After all the planning, metalwork, filing, riveting, oxidizing, and painting, it was refreshing to just do something easy, and I like the way these round coiled links mimic the shape and texture of Kristen's beaded rings.


Now that I sit back, look at this set, and reflect on the process of creating it, I feel satisfied and proud. I love the colors and the contrast of the soft leather and hard, hammered metal. (Note to self:  I secretly feel kinda like a jewelry rock star right now.)


Kristen, thank you for selecting me to participate in this challenge. I loved designing with your cool beaded rings, and I am really looking forward to seeing the creations of other participating artists. (Blog readers, click on the link to Art Jewelry Elements Blog to see the work of other artists.)